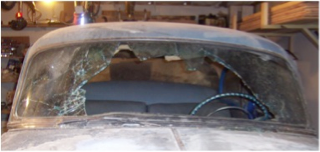
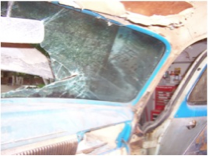
Although it's not part of the dashboard, I took out
the windshield. It was shattered during the fire,
and will have to be replaced. The are detailed
procedures for removing a windshield, but I opted
for the "rubber mallet" approach, which did the job
in about 30 seconds.
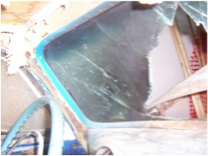
Next, I removed the internal rear-view mirror and
the interior trim around the windshield.
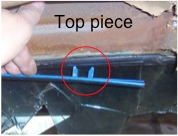
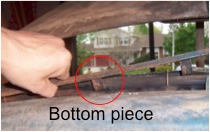
The interior trim consists of 2 u-shaped brackets
and a small centerpiece where they join. Note the
special alignment feature in the trim.
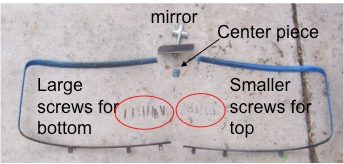
The screw on the top of the trim are smaller than
those for the bottom half. This is an important
distinction--the larger screws will go through the
roof of the car, if used on the top of the trim.
The same is true for the screws attaching the
rear-view mirror.