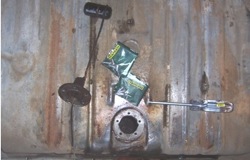
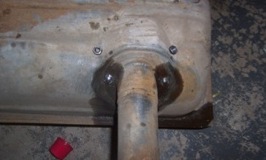
After removing the tank, I took out the sender. The sender was held in place with 5 10-32 “clutch screws, which have a hole shaped like a bow-tie, and require a special wrench. (These clutch screws are used in several places in the Chevy.) There are also two nuts holding the neck onto the tank; however, the neck is welded in place. These nuts must have been used to hold the neck while it was being welded. The float on the sender was cracked, but easy to replace (see links page).
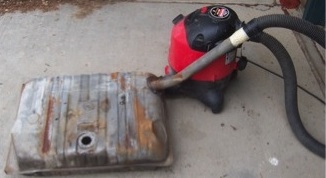
The gas tank was filled with 55 years of C-R-A-P. This was not going to be easy! The first thing I did was to try to dry out the inside of the tank by using my shop-vac in reverse. I ran forced air through the tank for hours, and it still smelled like that awful old gas. Eventually, I took the tank to a local car wash and stuck the high-pressure hose inside of the tank. A lot of tar-like substance came out. I dried it again, to keep it from rusting.

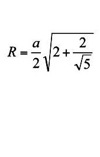
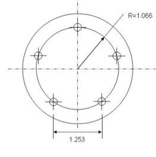
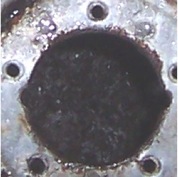
If I could have just crawled inside of the tank, I could have got all of the tar and rust off with scrapers and sand paper. But I was limited to getting into the tank through the small hole where the sender attached. Consequently, this would have to be done CHEMICALLY. I stumbled upon the Eastwood company (see links page), who specializes in restoration supplies. They have an entire kit for restoring a gas tank that sells for about 50 bucks (compared to $250 for a new tank). The first thing I had to do was build a metal cap to cover the whole where the sender was. Fortunately, there is a simple formula for converting the hole-spacing to radius for a pentagon.